

Have you ever grabbed a protein bar from the store, only to flip it over and find a laundry list of ingredients you can’t pronounce? You’re definitely not alone. Between the artificial flavors, excessive sugars, and sky-high prices, store-bought protein bars often leave much to be desired. That’s exactly why homemade protein bars are becoming the go-to choice for health-conscious individuals who want control over what they’re putting into their bodies.
Homemade protein bars are nutrient-dense snacks you prepare yourself, typically combining ingredients like protein powder, oats, nut butters, and natural sweeteners to create a convenient, high-protein food that actually tastes good and supports your health goals. Making your own protein bars gives you full control over the ingredients, making them healthier and more cost-effective compared to many commercial options.
Why Make Homemade Protein Bars Instead of Buying Store-Bought?
Let’s be honest – the protein bar aisle at your local grocery store can be overwhelming. With dozens of options promising everything from muscle gains to weight loss, how do you know what you’re really getting? Here’s where DIY protein bars shine.
Cost savings are probably the first thing you’ll notice. When you’re paying $2-4 per bar at the store, those costs add up quickly. Making your own bars typically costs less than $1 per serving, since you’re buying ingredients in bulk and skipping retail markups. Over a year, that difference can save you hundreds of dollars.
But the real game-changer is full customization. Got dietary restrictions? No problem. Need to avoid gluten? Easy. Want less sugar? You’re in control. Unlike mass-produced bars that cater to the general population, your homemade versions can be tailored exactly to your needs and preferences.
Transparency is another huge advantage. When you make your own bars, you know exactly what goes into your snack – no hidden preservatives, artificial flavors, or excess sugar. Research shows that many commercial protein bars contain as much sugar as candy bars, which defeats the purpose of eating something “healthy.”
For fitness enthusiasts and busy individuals looking for easy, portable sources of energy and protein, homemade bars offer sustained energy, help manage hunger, and promote muscle recovery – making them a smart choice for post-workout snacks or nutritious meals on the go.
What Makes a Great Homemade Protein Bar?
Creating the perfect protein bar isn’t rocket science, but understanding the basic components will help you craft bars that actually hold together and taste amazing. Think of it like building a house – you need a solid foundation and the right materials.
Essential Ingredients for DIY Protein Bars
Protein Base: This is your foundation. Whey, casein, or plant-based options (soy, pea, rice protein) suit various dietary preferences and help meet protein goals. The type you choose will affect both taste and texture, so experiment to find your favorite.
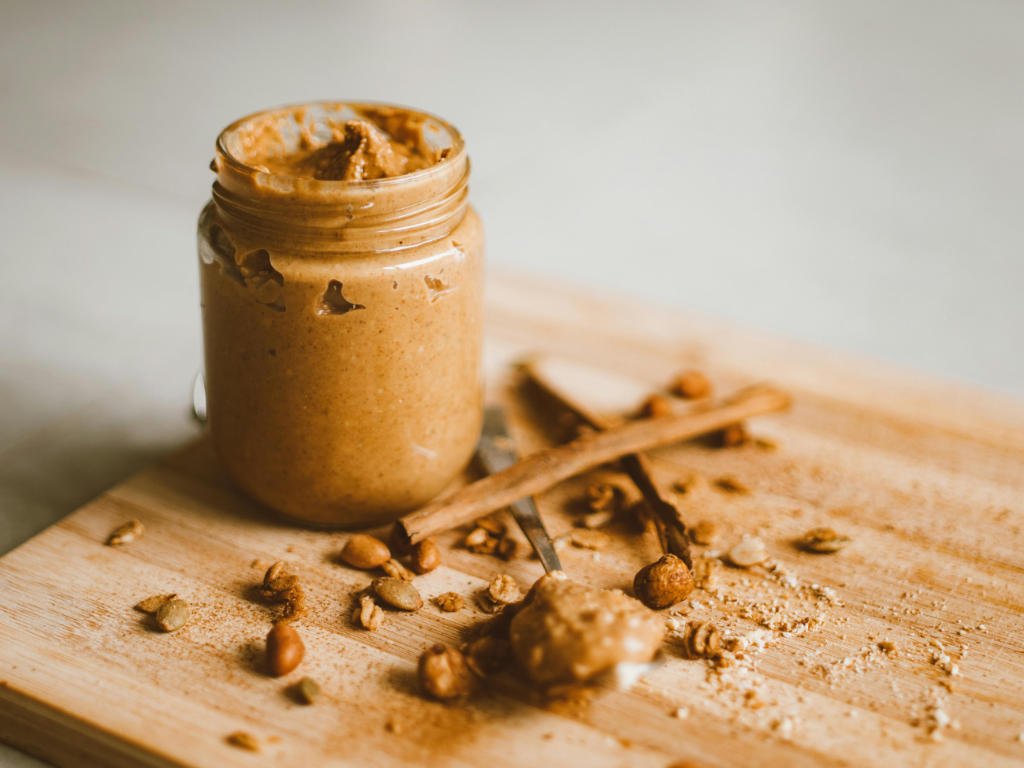
Binders: These ingredients hold everything together. Nut butters (peanut, almond), Greek yogurt, or coconut oil not only bind your bars but also add healthy fats and flavor. Without proper binding agents, you’ll end up with a crumbly mess instead of a cohesive bar.
Carbohydrates: Oats, puffed rice, or quinoa provide sustained energy and add texture. They’re especially important if you’re using your bars as pre or post-workout fuel.
Natural Sweeteners: Honey, maple syrup, or dates offer sweetness without refined sugar. They also act as additional binding agents, helping everything stick together naturally.
Mix-ins: This is where you can get creative. Seeds, nuts, dried fruits, and dark chocolate chips increase nutrition and flavor while adding interesting textures.
For vegan or gluten-free protein bars, simply choose vegan protein powders, dairy-free binders (like almond butter), and certified gluten-free oats. The beauty of making your own is that dietary restrictions don’t have to limit your options.
Simple and Delicious Homemade Protein Bar Recipes
Ready to get your hands dirty? These recipes are perfect for beginners and can be customized to your heart’s content. All recipes yield about 8-12 bars and can be stored in the fridge for up to two weeks or frozen for up to three months.
Classic Oatmeal Protein Bars
This is the perfect starter recipe – simple, foolproof, and incredibly versatile.
Ingredients:
- 2 cups rolled oats
- 2 scoops vanilla protein powder
- 1/2 cup natural nut butter
- 1/3 cup honey
- 1/4 cup milk (dairy or plant-based)
- 1 tsp vanilla extract
- Pinch of salt
Preparation: Mix all dry ingredients in a large bowl. In a separate bowl, combine wet ingredients, then fold into the dry mixture until well combined. Press firmly into a lined 8×8 pan, refrigerate for at least 2 hours until set, then cut into bars.
Prep time: About 10 minutes (plus chilling time)
Benefits: Balanced carbs and protein perfect for pre or post-workout fuel
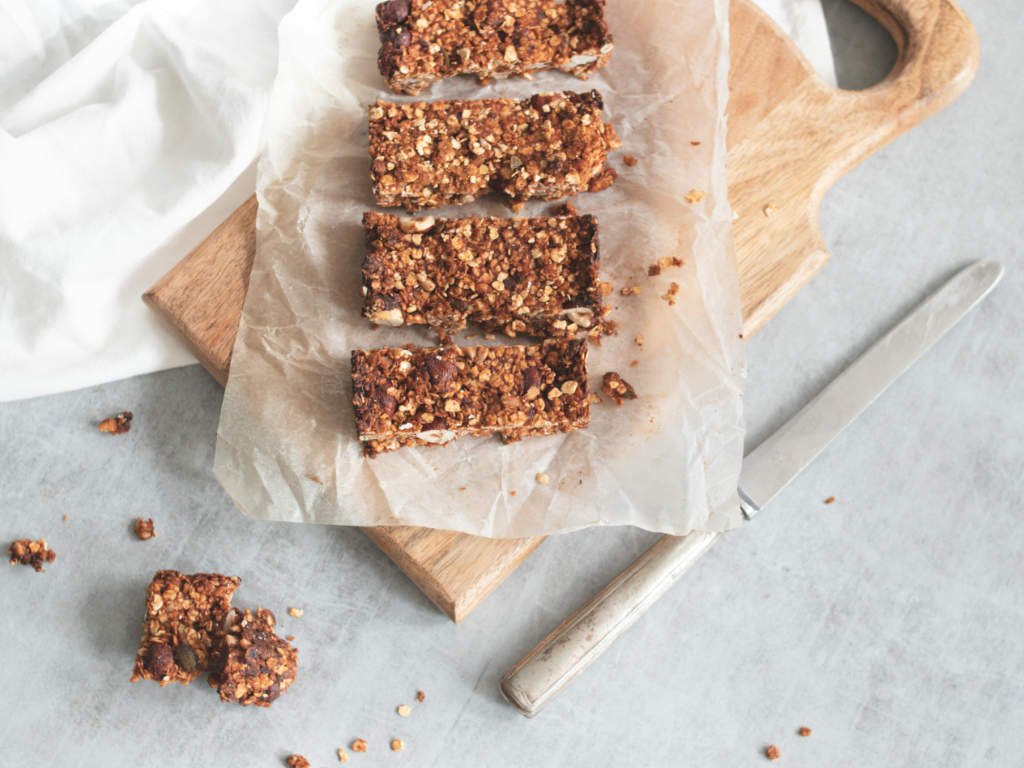
Almond Butter Chocolate Chip Bars
Who says healthy can’t be indulgent? These bars satisfy your sweet tooth while delivering quality nutrition.
Ingredients:
- 1/2 cup natural almond butter
- 1/3 cup mini dark chocolate chips
- 1 1/2 cups rolled oats
- 2 scoops vanilla or chocolate protein powder
- 1/4 cup pure maple syrup
- 1/4 cup ground flaxseed
- 1 tsp vanilla extract
Preparation: Combine all dry ingredients except chocolate chips. Mix in almond butter, maple syrup, and vanilla until everything holds together. Press into a lined loaf pan, sprinkle chocolate chips on top and gently press in. Refrigerate for 2-3 hours before slicing.
Prep time: About 10 minutes
Benefits: Rich in healthy fats, plant-based protein, and antioxidants from dark chocolate
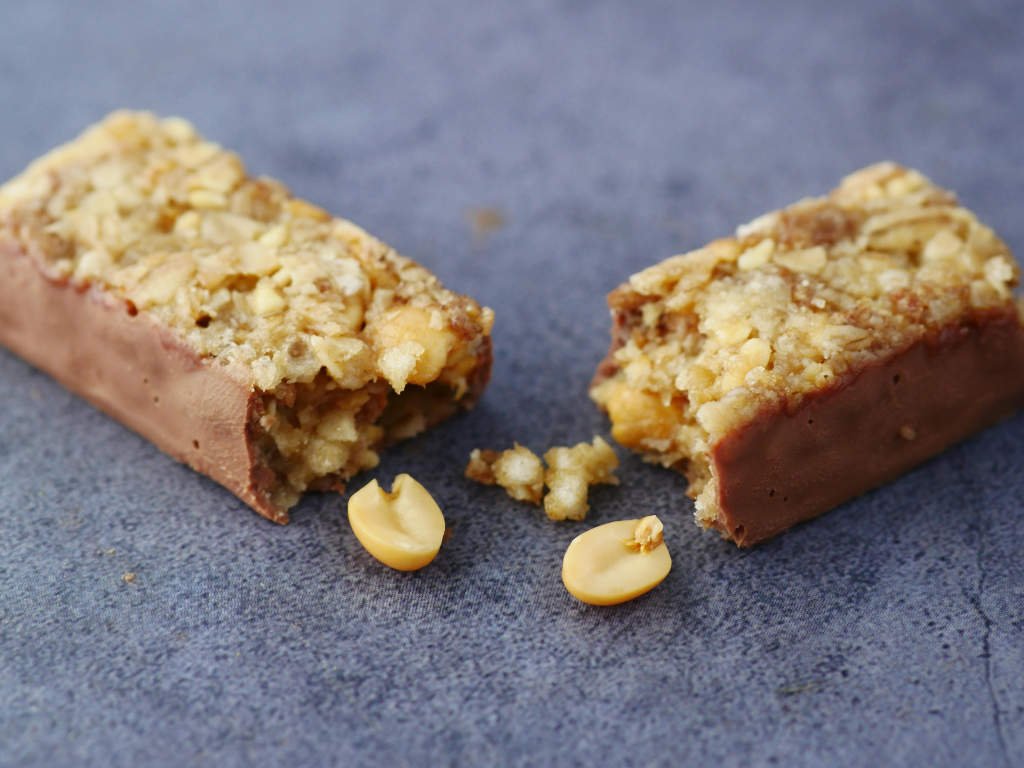
No-Bake Peanut Butter Protein Bars (Gluten-Free)
Perfect for those avoiding gluten or anyone who doesn’t want to turn on the oven.
Ingredients:
- 2 cups certified gluten-free oats
- 2/3 cup natural peanut butter
- 2 scoops plant-based vanilla protein powder
- 1/3 cup honey or agave nectar
- 1/4 cup chia seeds
- 1 tsp vanilla extract
- 1/4 tsp sea salt
Preparation: Pulse oats in a food processor until roughly chopped (you want some texture). Mix all ingredients in a large bowl until well combined. Press firmly into a lined loaf pan, chill for at least 3 hours, and slice into bars.
Prep time: About 10 minutes
Benefits: Completely gluten-free, high in plant-based protein and fiber
Pro Tips for Customizing Your Protein Bars
Once you’ve mastered the basics, it’s time to get creative. The beauty of homemade bars is that you can experiment endlessly.
Add-ins to Try: Chia seeds and flaxseed boost omega-3 content, while shredded coconut adds tropical flavor and healthy fats. Dried cranberries or chopped dates provide natural sweetness and chewy texture. Chopped nuts add crunch and extra protein.
Adjusting Protein Content: Want more protein? Add an extra scoop of powder, but you’ll need to increase your wet ingredients slightly to maintain the right consistency. Too much protein powder can make bars dry and chalky.
Modifying Sweetness: Start with less sweetener than you think you need – you can always add more, but you can’t take it back. Date paste is an excellent whole-food sweetener that also acts as a binder.
Storage Tips: Always store your bars in airtight containers in the fridge for up to 2 weeks. For longer storage, wrap individually and freeze for up to 3 months. Pro tip: cut parchment paper between bars to prevent sticking.
Health Benefits That Make Homemade Protein Bars Worth the Effort
Beyond convenience and cost savings, homemade protein bars offer genuine health benefits that can support your wellness goals.
Superior Protein Sources
Quality protein supports muscle growth, repair, and satiety while aiding in energy balance and appetite regulation. When you control the protein source, you can choose high-quality options that align with your dietary preferences and health goals.
Plant-based options are particularly beneficial for those following vegetarian or vegan lifestyles. Homemade vegan bars provide a variety of nutrients and support a balanced, eco-friendly diet without sacrificing taste or nutrition.
Healthier Than Store-Bought Alternatives
Most commercial protein bars are loaded with artificial ingredients and excess sugar, which can lead to energy crashes and don’t support long-term health goals. Homemade bars often have less sugar and fewer additives, helping stabilize blood sugar and providing sustained energy.
Common misconceptions about protein bars persist. Not all store-bought bars are healthy – some contain as much sugar as candy bars and are filled with artificial preservatives. Studies show that many commercial options are more like glorified candy bars than nutritious snacks.
When you make your own, you ensure better nutrition and complete ingredient transparency. Plus, you can incorporate whole food ingredients that provide vitamins, minerals, and fiber – nutrients often lacking in processed alternatives.
Troubleshooting Common Protein Bar Problems
Even experienced home cooks encounter issues when making protein bars. Here are solutions to the most common problems:
Bars too crumbly? You need more binding agents. Add extra nut butter, a bit more honey, or even a mashed banana. The mixture should hold together when pressed.
Too dry or chalky? This usually happens with too much protein powder. Add more wet ingredients gradually – a tablespoon of milk or melted coconut oil can work wonders.
Not sweet enough? Remember that flavors meld and intensify after chilling. If they’re still not sweet enough after refrigerating, add a drizzle of melted dark chocolate on top.
Bars falling apart? Make sure you’re pressing the mixture firmly into the pan and allowing adequate chilling time. Patience is key – rushing the process leads to crumbly results.
Frequently Asked Questions About Homemade Protein Bars
How long do homemade protein bars last?
Properly stored in the refrigerator, they’ll stay fresh for up to two weeks. For longer storage, wrap individually and freeze for up to three months.
Can I make protein bars without protein powder?
Absolutely! Use Greek yogurt, nut butters, hemp hearts, or quinoa flakes as natural protein sources. The texture will be different, but they’ll still be nutritious and delicious.
What’s the best protein powder for beginners?
Vanilla whey or plant-based vanilla protein powders are the most versatile and mix well with various flavors. They’re mild enough that they won’t overpower other ingredients.
How do I prevent my bars from being too sweet?
Start with less sweetener than the recipe calls for. You can always add more, but natural sweeteners like dates and honey are quite potent.
Are homemade protein bars good for weight loss?
They can support weight loss goals when portion-controlled and used as meal replacements or healthy snacks. The protein helps with satiety, potentially reducing overall calorie intake.
Advanced Techniques for Next-Level Protein Bars
Once you’re comfortable with basic recipes, try these advanced techniques for professional-quality results:
Layered bars create visual appeal and flavor variety. Make two different mixtures and layer them in your pan before chilling.
Coating techniques can elevate your bars. Try dipping in melted dark chocolate or rolling in coconut flakes for a gourmet touch.
Flavor combinations to experiment with include matcha and white chocolate, coffee and almond, or orange and dark chocolate. Don’t be afraid to get creative!
Texture variations keep things interesting. Try adding puffed quinoa for crunch, or coconut butter for ultra-smooth richness.
Making Protein Bars Part of Your Healthy Lifestyle
Meal prep benefits extend beyond just having snacks ready. Making a batch of protein bars on Sunday sets you up for success all week. They’re perfect for busy mornings, post-workout fuel, or afternoon energy slumps.
For active individuals, timing matters. Enjoy bars 30-60 minutes before workouts for sustained energy, or within 2 hours post-workout for optimal muscle recovery. The combination of protein and carbohydrates supports both performance and recovery.
Portion control is important even with healthy snacks. Most homemade bars should be cut into 8-12 pieces, providing 150-250 calories per serving depending on ingredients.
Consider pairing your homemade bars with other antioxidant-rich snacks for a well-rounded approach to healthy eating, or incorporating them into your broader meal planning strategies for optimal nutrition.
The Environmental and Economic Benefits
Beyond personal health, making protein bars at home has broader benefits. You’re reducing packaging waste from individual bar wrappers and small-batch production typically has a smaller carbon footprint than mass manufacturing.
Economically, the savings add up quickly. A typical homemade bar costs 50-75% less than premium store-bought options. Over a year, that could mean saving $200-500 or more, depending on your consumption.
Bulk ingredient purchasing also reduces trips to the store and often leads to discovering other healthy recipes that use similar ingredients, expanding your healthy cooking repertoire.
Seasonal Variations to Keep Things Interesting
Summer bars can incorporate fresh berries, coconut, and light flavors. Try adding freeze-dried strawberries or a touch of lime zest for refreshing options.
Fall flavors like pumpkin spice, apple cinnamon, or maple pecan make bars feel seasonal and special. These warming spices also provide additional antioxidants.
Winter bars might include peppermint extract with dark chocolate chips, or warming spices like ginger and cardamom.
Spring variations could feature lemon zest, fresh herbs like mint, or lighter fruit flavors as you transition toward warmer weather.
Making homemade protein bars is more than just a healthy cooking project – it’s taking control of your nutrition, saving money, and creating snacks that actually support your health goals. Whether you’re an athlete looking for clean fuel, a busy parent needing grab-and-go nutrition, or someone simply wanting to eat better, homemade bars deliver on all fronts.
The recipes and techniques in this guide provide a solid foundation, but the real magic happens when you start experimenting with your own flavor combinations and ingredients. Don’t be afraid to make mistakes – even “failed” bars usually taste pretty good and teach you something for next time.
Start with one simple recipe this weekend. Get your ingredients together, spend 15 minutes mixing and pressing, and in a few hours, you’ll have a week’s worth of healthy snacks ready to go. Your wallet, your taste buds, and your body will thank you for making the switch to homemade protein bars that actually deliver on their nutritional promises.